
How to Export and Import WordPress Forms (and Their Entries)
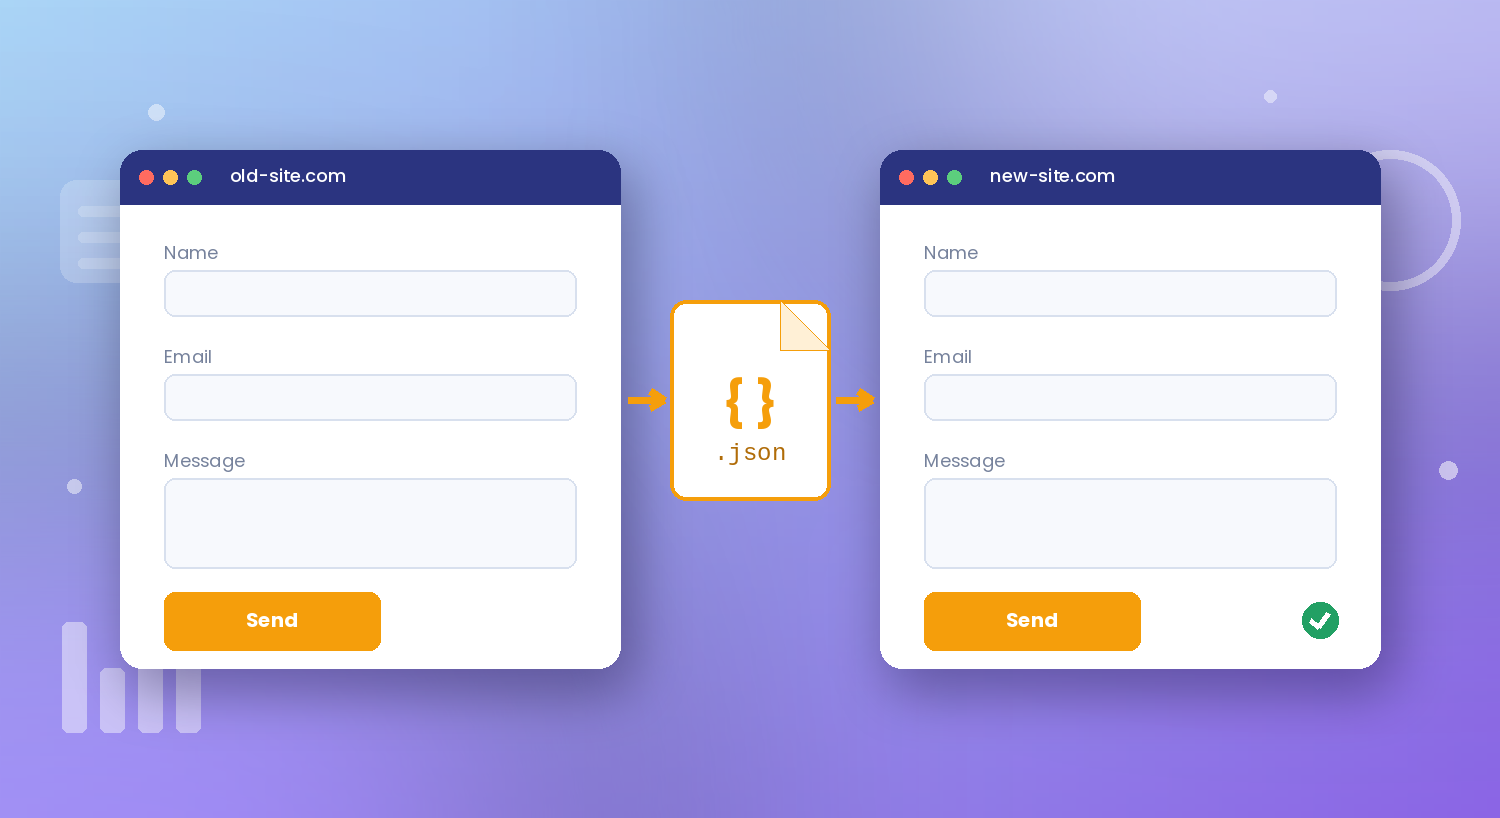
Rebuilding a form by hand on a new site is slow, and it is easy to miss a field, a setting or a color. Auto Form Builder lets you export and import WordPress forms instead: one JSON file carries the fields, the form settings and the full design, and the submissions dashboard data can travel too, as a CSV, Excel, JSON or XML file. Everything lives on one screen, Auto Form Builder → Settings → Import/Export.
When you need to export and import forms
The most common reason is moving to a new site, or building a form on a staging site and then copying it to the live one. Agencies use it to reuse a proven form across client sites. It is also a simple safety net: an exported file is a copy of your form you can bring back if someone changes it by mistake.
Forms and entries are separate jobs. A form export moves the form itself, so the new site has the same fields and the same look. An entry export moves the answers people already sent, for a spreadsheet, a report or an archive.
Export forms as a JSON file
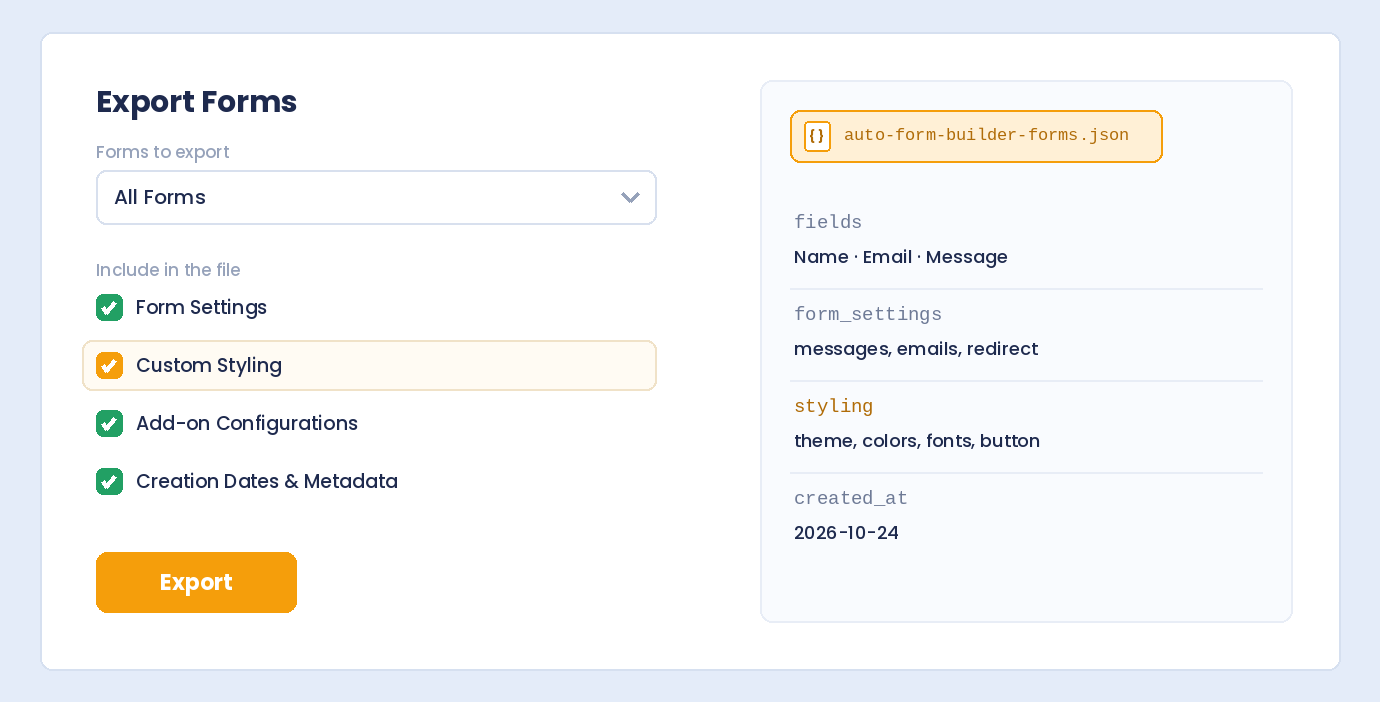
In the Export Forms section, pick the forms you want. You can export a single form or all of them at once. Then choose what goes into the file:
- Form Settings: confirmation messages, redirects, email notifications and the other per-form options
- Custom Styling: the theme, colors, fonts, layout and button design from the Customize tab
- Add-on Configurations: the settings of any add-ons the form uses
- Creation Dates & Metadata: when each form was created and last updated
Click Export, and your browser downloads a file named like auto-form-builder-forms-2026-10-26.json. Keep Custom Styling ticked if you want the form to look exactly the same on the other site. If you styled it in the Customize tab, all of that design travels inside the file.
Import forms on the new site
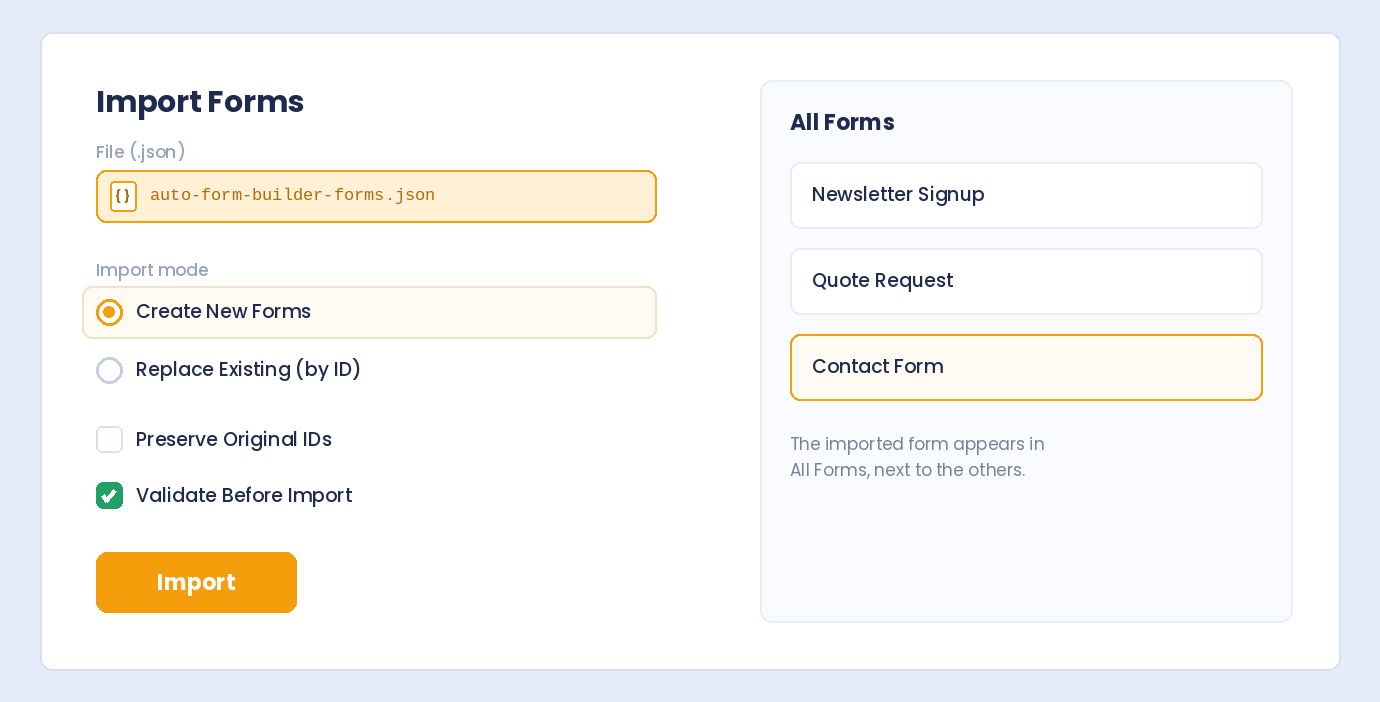
On the other site, install Auto Form Builder, open the same Import/Export tab, and go to Import Forms. Choose the JSON file, then pick how it should be added:
- Create New Forms adds every form in the file as a new form. Nothing that is already on the site changes. This is the safe choice, and the right one for a move.
- Replace Existing (by ID) overwrites the form that has the same ID. Use it only when you are deliberately updating a copy of the same form.
Two more options help. Preserve Original IDs keeps each form’s ID number from the old site. Validate Before Import checks the file before anything is written, so a damaged or wrong file is stopped early.
After the import, the form shows up in All Forms, ready to place on a page. If you need a refresher on that step, the embed a form guide covers the shortcode and the block.
Export form entries to CSV, Excel, JSON or XML
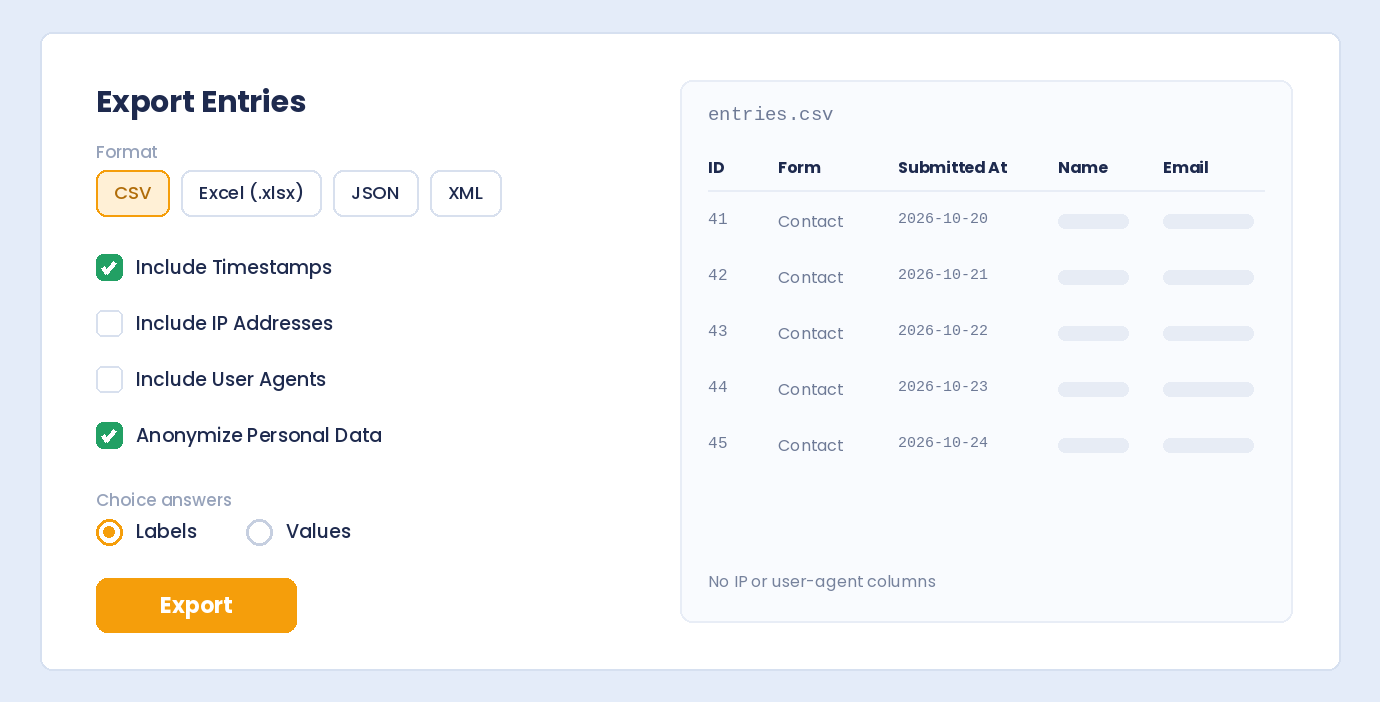
Export Entries works per form. Pick the form, then the format: CSV for most tools, Excel (.xlsx) for a spreadsheet you will open straight away, JSON for developers, or XML for older systems. A CSV starts with the submission ID, the form ID, the form title and the time it was submitted, followed by one column for each field.
You also decide which extra details leave your site:
- Include Timestamps
- Include IP Addresses
- Include User Agents, the browser and device information
- Anonymize Personal Data, to mask personal details before the file is created
For choice fields such as dropdowns and radio buttons, choose whether the file shows the Labels people saw or the stored Values. Labels are easier to read; values are better if another system expects codes.
Keep exports private
An export is a copy of your data, so treat the file with the same care as the site. Leave IP addresses and user agents out unless you really need them, and use Anonymize Personal Data whenever the file goes to someone outside your team. That fits the same idea behind keeping submissions on your own server: only the data you choose ever leaves it.
If you want submissions to reach another app automatically, as they arrive, an export is the wrong tool. Use webhooks instead, and each new entry is sent to your CRM, Zapier or Make the moment it comes in.
Import entries into a form
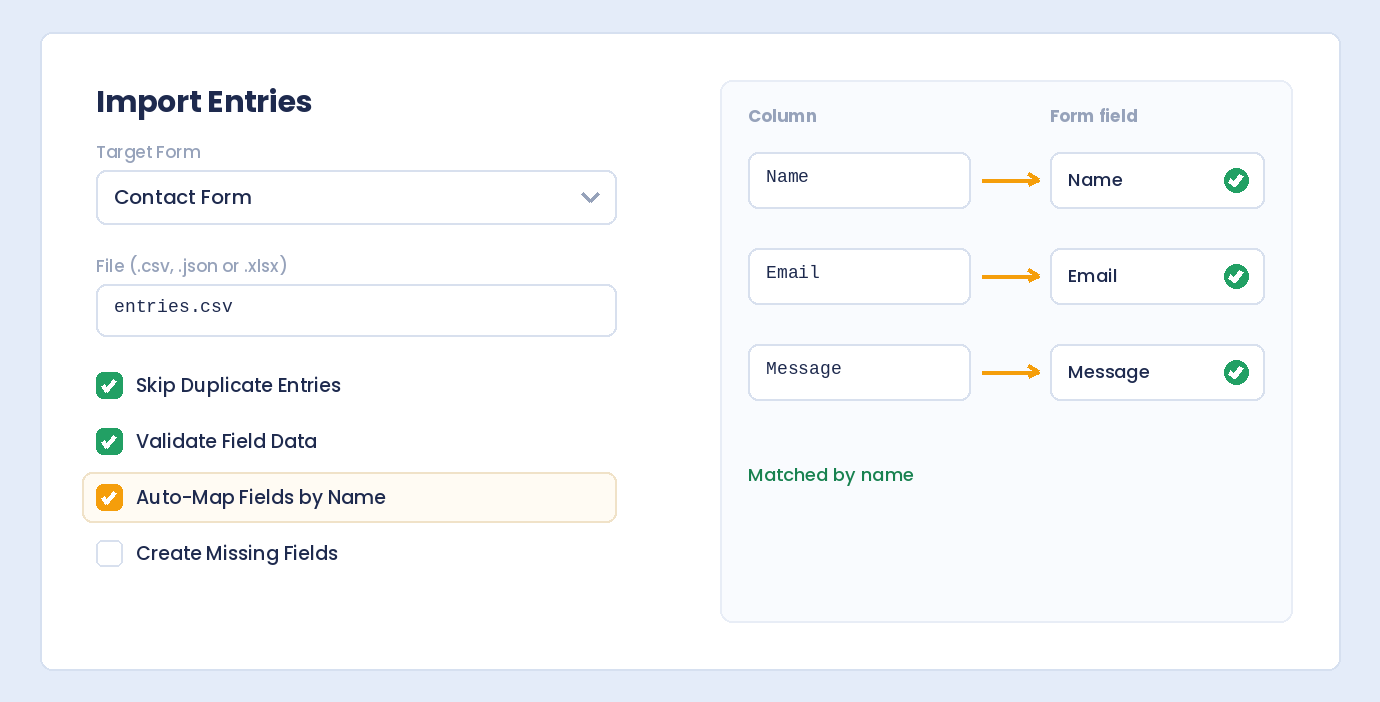
You can bring entries in, too. In Import Entries, pick the Target Form, then a .csv, .json or .xlsx file. Four options control how the rows are matched:
- Skip Duplicate Entries ignores rows that are already in the form
- Validate Field Data checks each value against its field before it is saved
- Auto-Map Fields by Name matches the file’s columns to the form’s fields by their names
- Create Missing Fields adds a field for any column the form does not have yet
The easiest path is to import the form first, then its entries. The field names then match, and Auto-Map Fields by Name does the work for you.
Summary
To move a WordPress form, export it from Settings → Import/Export as a JSON file with Form Settings and Custom Styling ticked, then import it on the other site with Create New Forms. Take the entries along with Export Entries, in the format you need, leaving out IP addresses or anonymizing personal data when the file is shared. For a regular backup routine, read how to back up WordPress form submissions.
Related reading: Back up WordPress form submissions · Managing WordPress form submissions · WordPress form webhooks
FAQ
Does the export include the form's design?
Yes. With Custom Styling ticked, the JSON file carries the theme, colors, fonts, layout and button settings along with the fields and form settings, so the imported form looks the same on the new site.
Can I export form entries to Excel?
Yes. Export Entries saves submissions as CSV, Excel (.xlsx), JSON or XML. You choose whether IP addresses, user agents and timestamps are included, and you can anonymize personal data before the file is created.
Will importing a form overwrite my existing forms?
Not by default. Choose Create New Forms and every imported form is added as a new form. Only Replace Existing (by ID) overwrites a form, and only the one with the matching ID.