
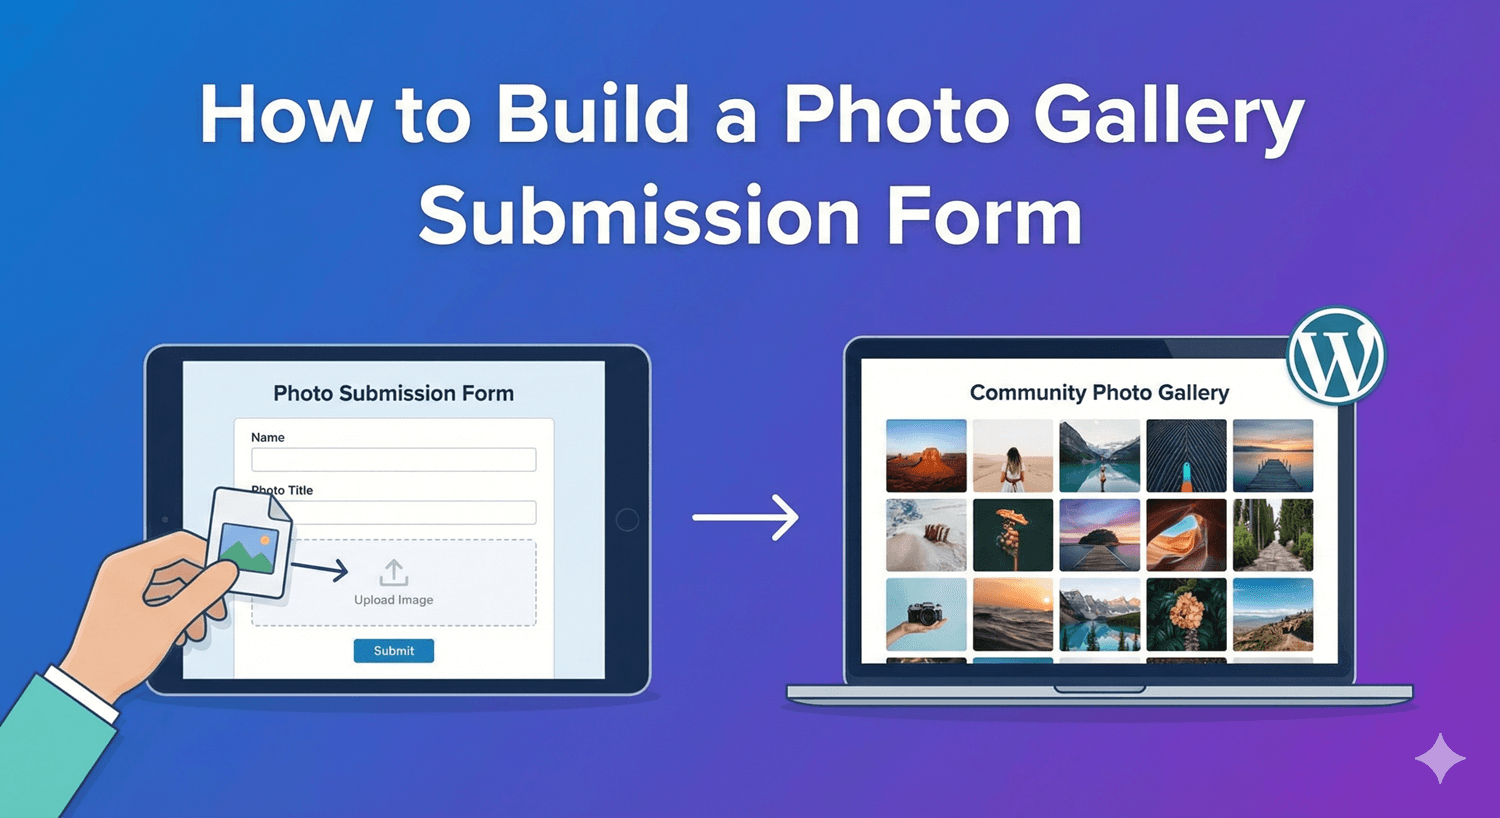
How to Build a Photo Gallery Submission Form
Photo contests, community galleries, portfolio submissions, user-generated content campaigns — plenty of forms need people to send in images, often several at once. Do it wrong and you get wrong-format files, giant uploads, and a mess to sort through. Do it right and entries arrive clean, previewed, and organized. Auto Form Builder’s File Upload field makes building a photo submission form straightforward. Here’s how.
Start with an image upload field
Create a new form and add a File Upload field — this is the heart of a photo submission form. Add a couple of context fields around it too: a Name field so you know whose entry it is, an email to contact winners or contributors, and maybe a short caption or title field for each submission.
Allow multiple photos
Most photo forms need more than one image. In the File Upload field’s options, enable Allow Multiple Files so entrants can upload several photos in a single field rather than one at a time. That’s exactly what a gallery or contest entry usually calls for — a set of images submitted together.
Restrict to images and set a size limit
To keep submissions clean, set Allowed File Types to Images (jpg, png, gif), or list specific extensions like .jpg and .png. This stops people uploading documents or the wrong file type. Then set a Maximum File Size per image so a single huge photo doesn’t cause problems — a sensible megabyte limit keeps things manageable while still allowing good-quality images.
Turn on previews and drag-and-drop
Two options make a photo form genuinely pleasant to use. Show File Previews displays thumbnails of the images people upload, so they can confirm they’ve attached the right photos before submitting — important when someone’s uploading several at once. And Enable Drag & Drop lets people drag images straight onto the form from their desktop, which feels natural for photos. Together they make submitting a set of images quick and reassuring.
Keep entries organized and spam-free
Every submitted photo is stored with its entry in your submissions dashboard, attached to the person who sent it — no hunting through email for who submitted what. Because photo forms are often public and high-traffic (a contest can attract bots), turn on spam protection to keep junk entries out.
Build it step by step
- Add a File Upload field and enable Allow Multiple Files.
- Restrict Allowed File Types to images and set a per-file size limit.
- Turn on Show File Previews and Enable Drag & Drop for a smooth experience.
- Add name and contact fields so you know whose entry is whose.
- Enable spam protection for public contests.
With those settings, a photo submission form collects exactly what you want — the right kind of files, previewed and organized — and makes it easy for people to enter. It’s all free, no code required.
Related reading: Accepting multiple file uploads, drag-and-drop file uploads, and secure file uploads.
Ready to collect photos the clean way? Install Auto Form Builder free from WordPress.org.
FAQ
Can people upload several photos in one form?
Yes. Enable 'Allow Multiple Files' on the File Upload field so entrants can submit several images at once, with previews so they can see what they've attached.
Can I limit uploads to images only?
Yes. Set Allowed File Types to Images, or list specific extensions like .jpg and .png, and set a maximum file size per image.