
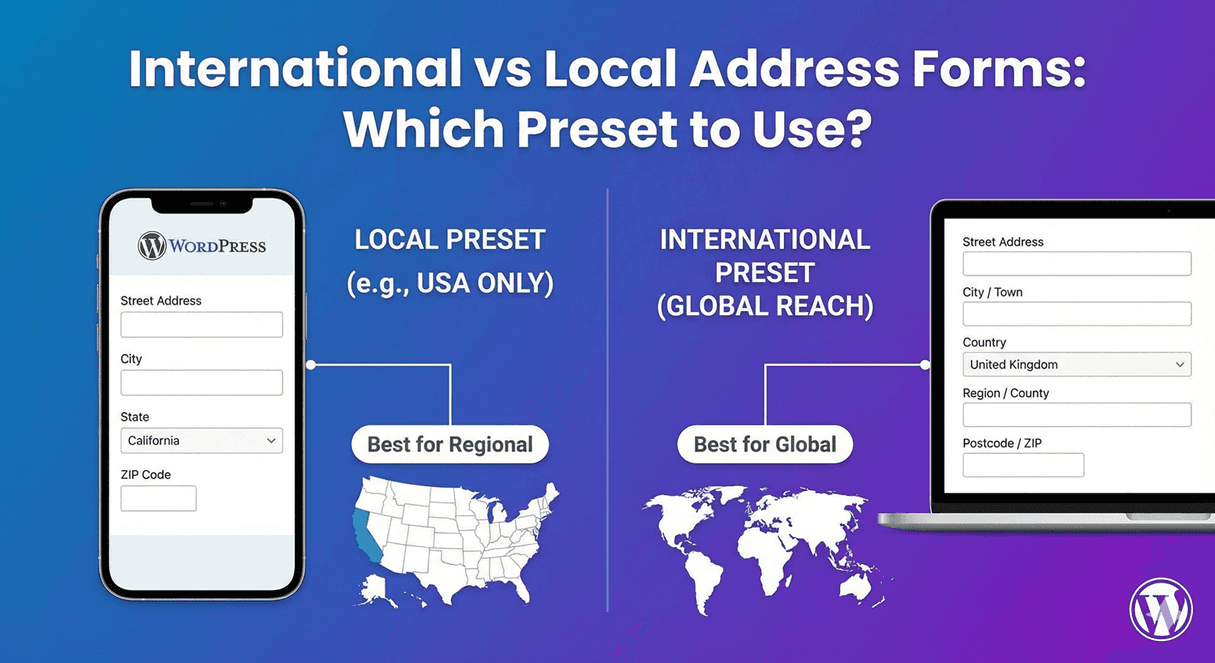
International vs Local Address Forms: Which Setup to Use?
When you add an address field, one decision shapes everything else: is this form for one country or many? A local form and an international form call for different setups — different fields shown, different labels, different required rules. Getting this right makes your address form feel tailored rather than generic. Here’s a decision guide to configuring Auto Form Builder’s Address field either way.
Start with your audience
The question to answer first is simple: who fills in this form? If your business serves a single country — a local service, a regional shop, a national organization — build a local address form. If you ship, serve, or work internationally, build an international one. Everything else follows from that single decision, so be honest about your actual audience rather than defaulting to one or the other.
The local address form setup
For a single-country form, the goal is a short, familiar form with no unnecessary fields:
- Hide the Country component — there’s no reason to ask when you serve one country.
- Use country-specific labels — “ZIP Code” for the US, “Postcode” for the UK — that your audience recognizes instantly.
- Add a state/province/region dropdown for consistent regional data, as in our US state dropdown and Canadian province guides.
- Require the components that always apply in that country.
The result is a tidy form that feels made for your local audience, with clean, consistent data.
The international address form setup
For a multi-country audience, the goal is flexibility:
- Show the Country component so you always know where an address is.
- Use neutral labels — “Postal / ZIP code,” “State / Province / Region” — that work across countries.
- Keep required rules flexible, since not every component applies everywhere.
- Consider using conditional logic to adapt fields to the chosen country.
Our guide to international address forms covers this setup in full. The result is a form that works for everyone, wherever they are.
The key differences at a glance
- Country field: hidden for local, shown for international.
- Labels: country-specific for local, neutral for international.
- Regional field: a fixed dropdown for local, flexible for international.
- Required rules: strict for local, flexible for international.
The same Address field handles both — you’re just configuring its components to match your audience.
When you’re not sure
If your audience is mostly local but occasionally international, lean toward showing the country field but keeping the rest optimized for your main audience. It’s better to accommodate the occasional international address than to block those visitors with a rigidly local form. You can use conditional logic and a country dropdown to adapt where needed, giving you a mostly-local form that still works for the exceptions.
Choose the right setup
- Serve one country? Hide Country, use local labels and a regional dropdown.
- Serve many? Show Country, use neutral labels, keep rules flexible.
- Mostly local with exceptions? Show Country but optimize for your main audience.
Matching your address form to your audience is a small configuration choice that makes a real difference to how tailored and usable the form feels. The Address field does both, free and no code.
Ready to build the right address form? Install Auto Form Builder free from WordPress.org.
FAQ
Should I use a local or international address form?
Match it to your audience. If you serve one country, use a local setup and hide the country field. If you serve many, use an international setup and show the country.
What's the main difference in setup?
A local form hides the Country field and uses country-specific labels and a state/province dropdown. An international form shows Country and uses flexible, neutral labels.