
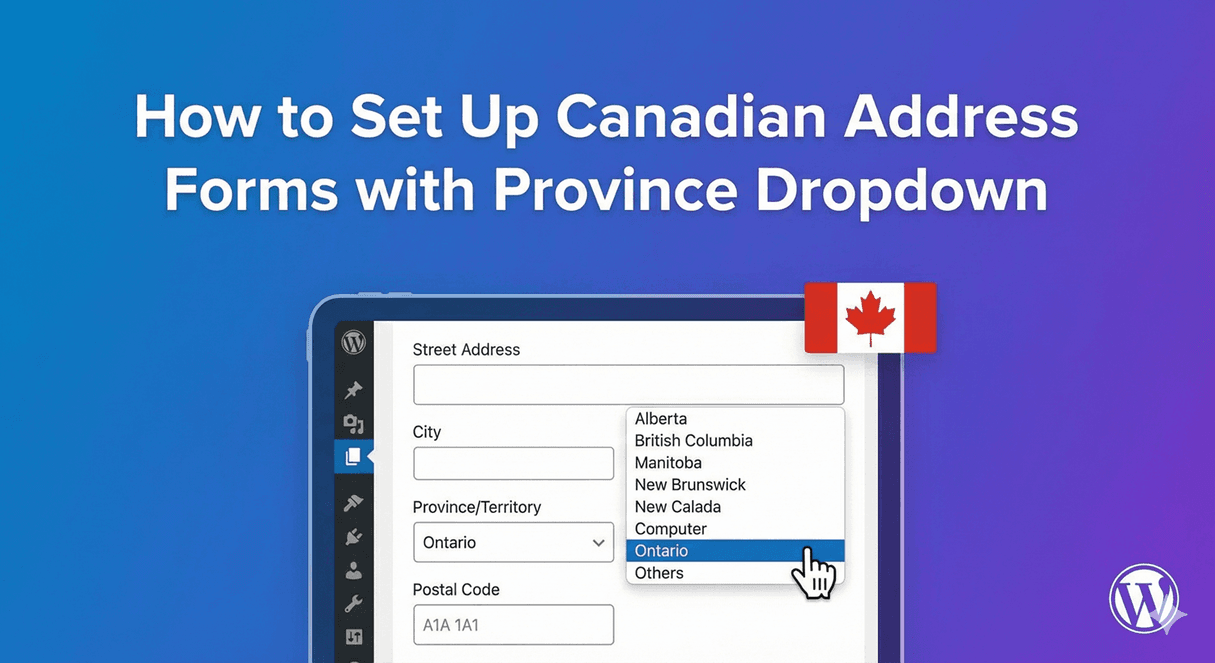
How to Set Up Canadian Address Forms with Province Dropdown
If you collect addresses from Canadian visitors, a generic address box quickly turns into inconsistent, hard-to-use data. Provinces get abbreviated a dozen different ways, postal codes arrive in every format, and half the fields you need aren’t there. Auto Form Builder’s Address field solves this by giving you structured components you control one by one — so a Canadian address comes in clean and complete. Here’s how to set it up.
Why a structured address beats a single box
A single-line address field is easy to add but painful to use later. You can’t sort by region, you can’t validate individual parts, and exported data is messy. A structured Address field captures each part — street, city, province/region, postal code — separately, so everything stays organized and usable.
Step 1: Add the Address field
Open your form in the builder and drag the Address field onto the canvas. It comes with the components a full address needs: Address Line 1 and 2, City, State/Province/Region, ZIP/Postal Code, Country, and an optional Company/Organization line.
Step 2: Set up the province component
The State/Province/Region component is what you’ll use for Canadian provinces. Label it clearly (“Province”) so it’s unambiguous for Canadian visitors. If you want to guarantee consistent values — no more “ON” vs “Ontario” vs “ont” — the cleanest approach is to give people a fixed list to choose from rather than free text, which brings us to the next step.
Step 3: Use a dropdown for consistent provinces
To keep province data uniform, pair the address with a Dropdown field listing Canada’s provinces and territories. A dropdown removes typos and abbreviation guesswork entirely — everyone picks from the same list, so your data is instantly consistent and sortable. If your list is long, enable the searchable option so people can type to filter.
Step 4: Choose which components are required
Not every part of an address is always needed. The Address field includes per-component required toggles, so you can require the parts that matter — City, Province, Postal Code — while leaving Address Line 2 or Company optional. When you mark the Address field itself as required, the always-shown core parts (Address Line 1 and City) are required automatically, so a required address can never be submitted empty.
Step 5: Pre-fill from a link (optional)
If you send people to your form from a campaign or a personalized link, you can pre-populate parts of the address using URL parameters — each component can read its own parameter. It’s a small touch that saves returning or known visitors from re-typing information you already have.
Tips for clean Canadian address data
- Use a dropdown for provinces to eliminate inconsistent values.
- Label postal code clearly and let people enter it in the standard A1A 1A1 style.
- Require only the components you genuinely need — fewer required fields means higher completion.
- Show the Country component only if you serve more than Canada; hide it if you don’t.
With the Address field’s components and a province dropdown, you get Canadian addresses that are complete, consistent, and ready to use — no code required.
Related reading: Creating country and state dropdowns in WordPress forms.
Ready to collect clean addresses? Install Auto Form Builder free from WordPress.org.
FAQ
Can I require only some parts of the address?
Yes. The Address field has per-component required toggles, so you can require, say, the province and postal code while leaving a second address line optional.
Can I pre-fill address components from a link?
Yes. Each address component can read its own URL parameter, so you can pre-populate parts of the address from a link.