
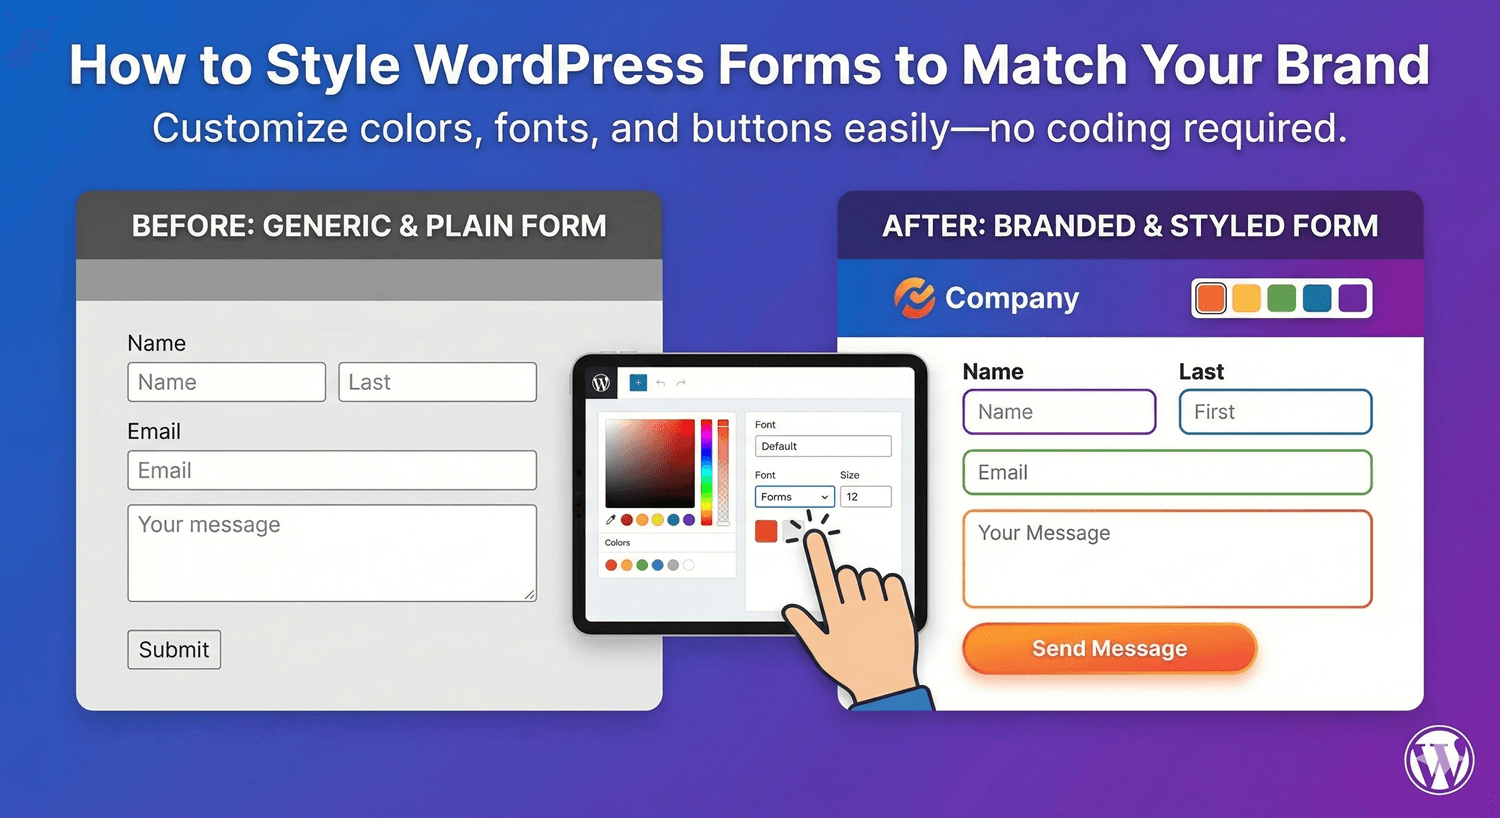
How to Style WordPress Forms to Match Your Brand
A form that looks bolted-on undermines trust. When the fonts, colors, and buttons clash with the rest of your site, visitors notice — even if they can’t say why — and they hesitate. A form that looks like a natural part of your brand does the opposite: it feels safe, professional, and worth completing. The good news is you don’t need CSS or a developer to get there. Auto Form Builder’s styling tools are entirely visual. Here’s how to make your forms look like they belong.
Start with a theme preset
Open the Customize tab and you’ll find theme presets — Corporate, Minimal, Modern, and more — that give you a polished starting point in one click. Pick the one closest to your site’s feel, then refine from there. Starting from a preset is faster than building a look from scratch and keeps things visually coherent.
Set your brand colors
Colors are what make a form instantly recognizable as yours. Adjust the form’s colors to match your brand palette — field styling, buttons, accents, and backgrounds. Buttons in particular deserve attention: a call-to-action button in your brand color, with the right hover state, reads as intentional and trustworthy. Small consistency here does a lot of quiet work.
Choose fonts and layout
Match the typography to your site so the form doesn’t feel like a foreign object, and set the layout — spacing, field arrangement, borders, and corners — to suit the design. A Name field laid out side by side, tidy spacing, and rounded corners that match your site’s style all add up to a form that feels considered rather than generic.
Add a background or header image
You can give a form a background — a solid color, a gradient, or an image — and add a per-form header image at the top. Used with restraint, these turn a plain form into a branded moment, especially for standalone forms like event registrations or campaign landing pages.
Preview on every device
As you style, a live preview shows your changes across desktop, tablet, and mobile. This matters: a form that looks perfect on a wide screen can feel cramped on a phone, where a lot of your visitors actually are. Checking all three as you go means no surprises after you publish.
Save it as a reusable theme
Here’s the real time-saver. Once you’ve dialed in a look you love, save it as a reusable theme. Then apply that exact design to any other form on your site in a single click. Design once, reuse everywhere — every form stays perfectly on-brand without redoing the work, and if you run forms across multiple sites, your styling travels with you via import/export.
Tips for on-brand forms
- Start from the preset closest to your site, then adjust rather than build from zero.
- Match button color and font to your site — those two carry most of the “brand” signal.
- Always check the mobile preview; that’s where many visitors will see it.
- Save your finished look as a theme so every future form is instantly consistent.
Styling a form well isn’t about decoration — it’s about trust. A form that looks like a seamless part of your site gets completed more often, and with Auto Form Builder you can achieve that entirely visually, for free.
Related reading: WordPress form templates and why WordPress forms need to be mobile responsive.
Ready to make your forms look the part? Install Auto Form Builder free from WordPress.org.
FAQ
Do I need CSS to style my forms?
No. All styling is done visually in the Customize tab — colors, fonts, backgrounds, buttons and layout — with a live preview and no code.
Can I reuse the same design across forms?
Yes. Save your design as a reusable theme and apply it to any other form in one click, so everything stays consistent.