
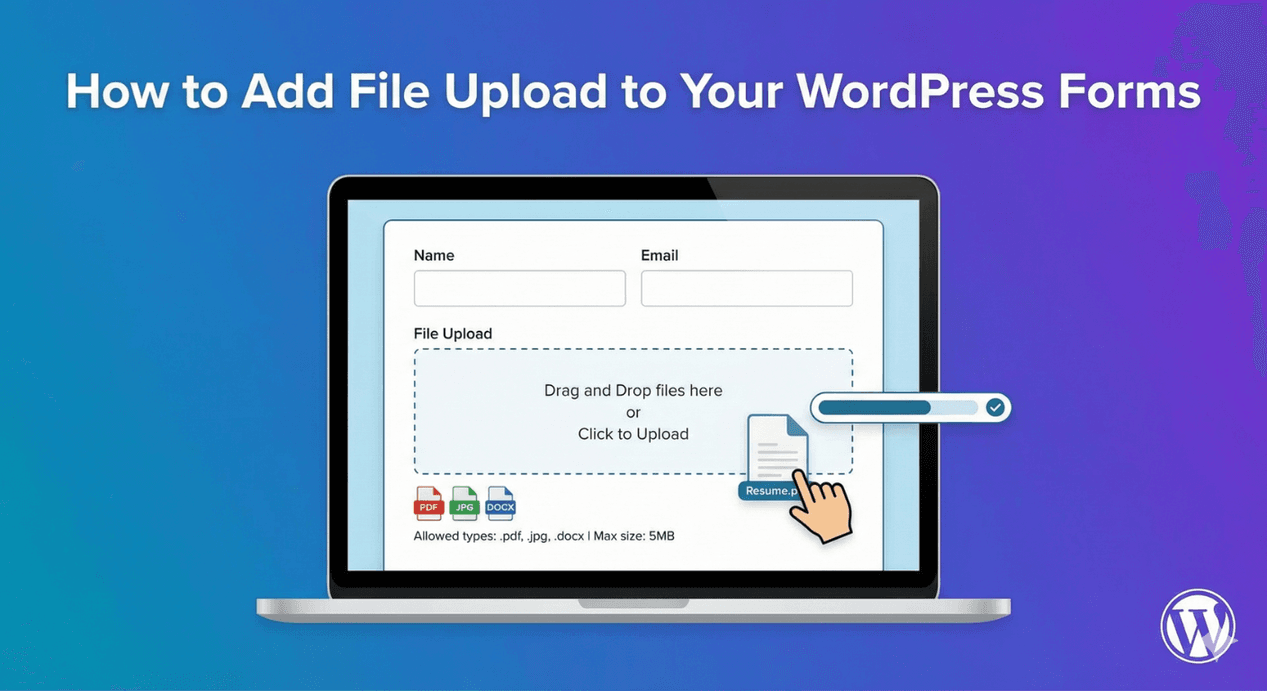
How to Add File Upload to WordPress Forms
Adding a file upload field is easy; setting it up well is what separates a form that collects clean, safe files from one that fills your site with junk. This is a practical checklist of the settings that matter on Auto Form Builder’s File Upload field, so you can add uploads to any form and get them right the first time.
The two settings that matter most
If you do nothing else, get these two right:
- Allowed File Types — decide exactly what people can send. Choose by category (Images, Documents, Spreadsheets, Presentations, Archives, Audio, Video) or list specific extensions like .pdf, .jpg, .docx. This keeps the wrong file types out and helps keep your site safe.
- Maximum File Size — cap the size per file (in MB) so nobody uploads something oversized. Leaving it empty falls back to your server’s default, but setting a sensible limit is better practice.
Between them, these two settings prevent the vast majority of upload problems.
Add the field and label it clearly
Drag a File Upload field onto your form and give it a specific label — “Upload your résumé (PDF)” tells people exactly what to send far better than a bare “Upload.” A clear label reduces wrong submissions before any setting comes into play.
Options that improve the experience
Once the essentials are set, a few options make uploads smoother:
- Allow Multiple Files — let people attach several files in one field when the task calls for it.
- Show File Previews — display thumbnails so people can confirm what they’ve attached.
- Enable Drag & Drop — let people drag files straight onto the form.
- Upload Button Text — customize the button label to fit your form’s tone.
Turn these on where they help; skip them where a single, simple upload is all you need.
Security is built in
Every uploaded file is validated before it’s accepted, so combined with your type and size limits, only files that match your rules get through. That protects your site from unexpected or unsafe uploads. For any public form, also enable spam protection so bots can’t abuse the upload field.
Files land with their submission
Once your form is live, each uploaded file is stored with its entry in the submissions dashboard — attached to the right person, viewable from the entry details, and never scattered across your inbox. That’s the real payoff of collecting files through a form instead of over email.
A quick setup checklist
- Add the field and label it clearly.
- Set Allowed File Types to exactly what you need.
- Set a Maximum File Size per file.
- Enable multiple files, previews, or drag-and-drop if they help.
- Turn on spam protection for public forms.
Get these right and file upload becomes one of the most useful, low-maintenance fields on your form — collecting clean, safe files every time. And it’s all free.
Related reading: How to add file upload to WordPress forms.
Ready to add uploads to your forms? Install Auto Form Builder free from WordPress.org.
FAQ
What settings matter most on a file upload field?
Allowed file types and maximum file size are the two essentials — they keep the wrong files out and your site safe. Multiple files, previews and drag-and-drop improve the experience.
Is file upload free in Auto Form Builder?
Yes. The File Upload field and all its options are part of the free core — no add-on or paid tier required.